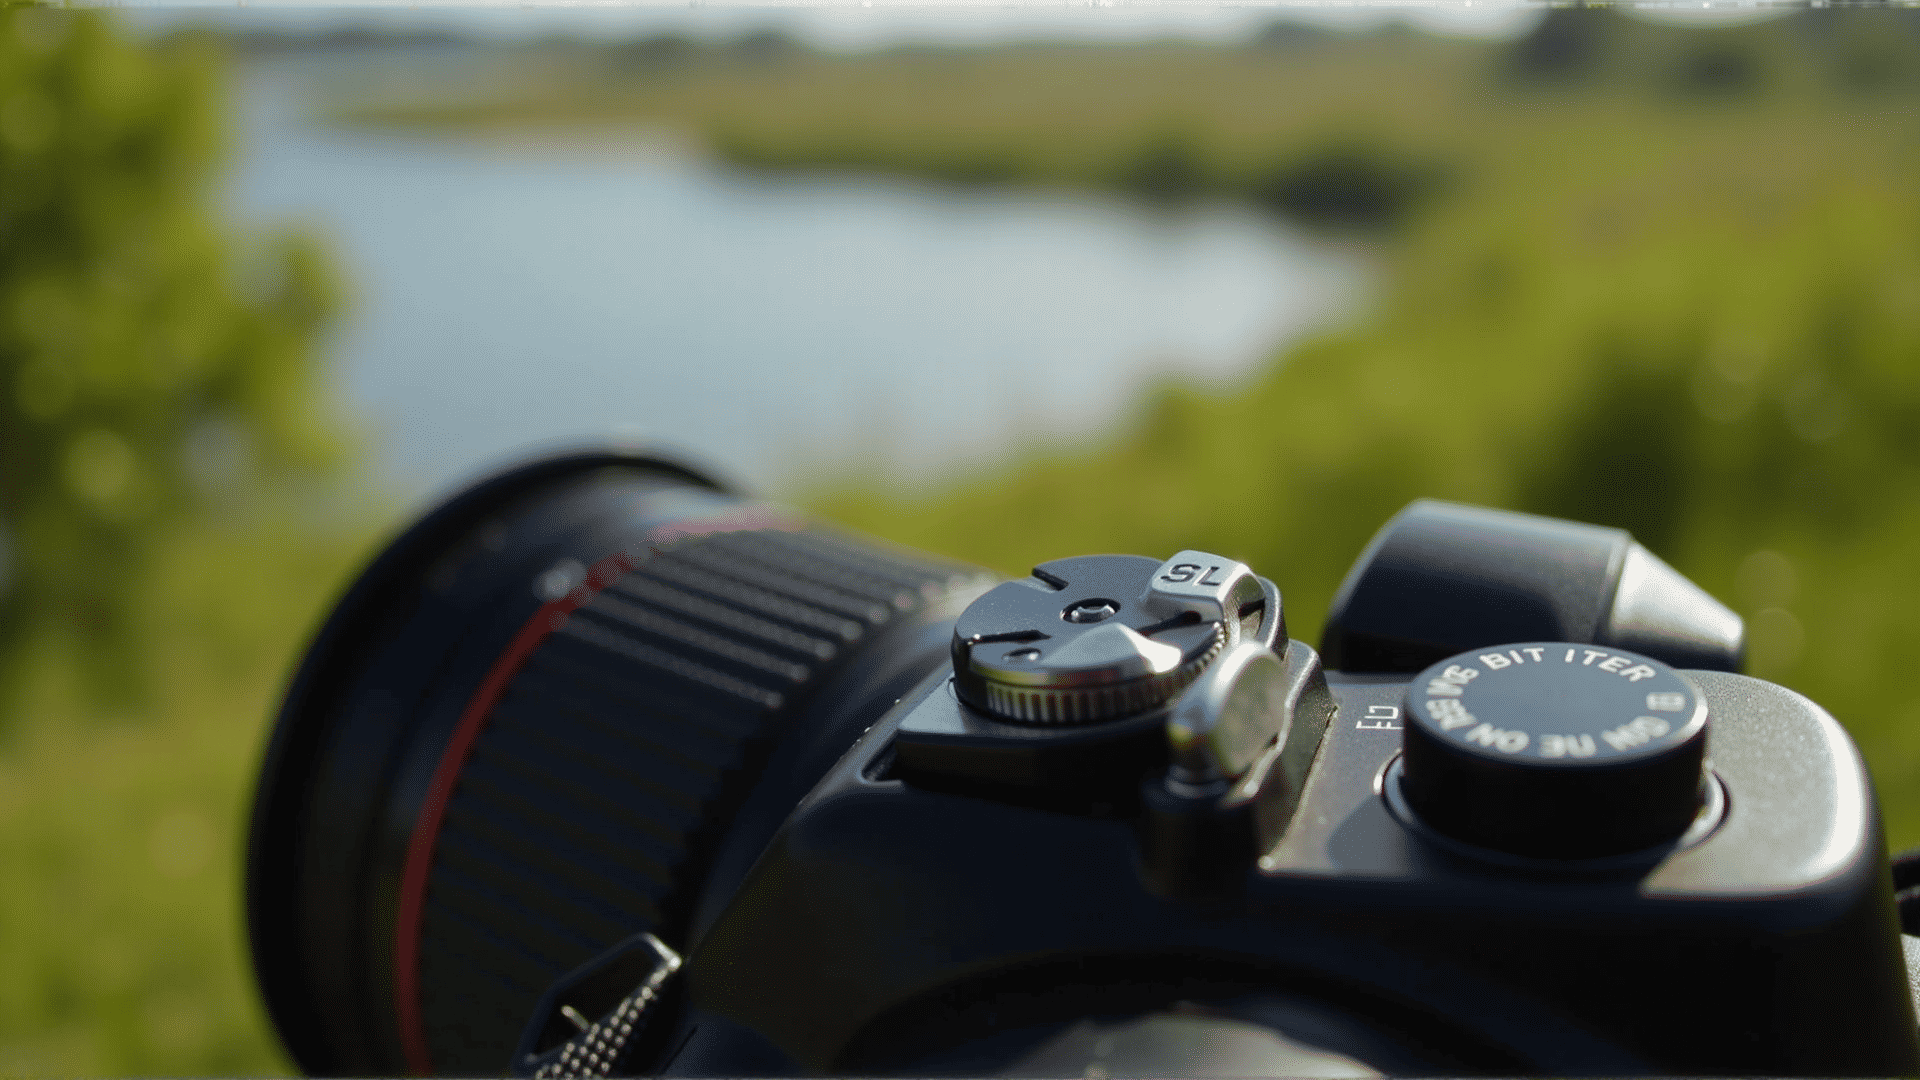
Understanding camera exposure is essential to capturing moments just as you envision them, whether you're shooting a sunlit landscape or a dimly lit room. With some knowledge and practice, you can wield this powerful tool to enhance your photography skills in any setting.
The Three Pillars of Exposure:
-
Aperture: This refers to the size of the lens opening that allows light into the camera. Measured in f-stops, a lower f-stop value, like f/2.8, indicates a larger opening that lets in more light, ideal for low-light scenarios. This setting not only influences exposure but also affects the depth of field. A wider aperture results in a shallower depth of field, offering a beautifully blurred background that is pleasing in portraiture.
-
Shutter Speed: This determines how long the camera's shutter remains open to let light in. It is measured in fractions of a second. Faster shutter speeds, such as 1/1000, capture action crisply, reducing motion blur, which is perfect for sports or wildlife shots. Slower shutter speeds, like 1/15, can be used creatively to introduce motion blur, capturing the fluid movement of water or night cityscapes with streaking lights. However, slower speeds demand stability, so using a tripod is beneficial to prevent unwanted blur.
-
ISO: This element measures the camera sensor's sensitivity to light. A lower ISO setting like 100 is preferable in brightly lit conditions to maintain image clarity. In contrast, higher values like 3200 can be employed in darker environments to brighten the exposure, although they may introduce noise or graininess to the image. Understanding when to adjust ISO helps maintain the balance between brightness and image quality.
Balancing the Elements:
Mastering exposure involves balancing aperture, shutter speed, and ISO to achieve the desired artistic effect in your images. Each setting impacts the other; a change in one often requires a compensatory adjustment in another. For example, if you increase the shutter speed to capture a fast-moving subject, you may need to widen the aperture or increase the ISO to maintain proper exposure.
Practical Tips for Mastering Exposure:
-
Exposure Triangle Practice: Engage in exercises focusing on each element separately. Experiment with taking photos of the same scene at various aperture settings, then adjust shutter speed and ISO to see their effect. Gradually, you'll learn how these settings interact and optimize them quickly, even in fast-paced shooting situations.
-
Histograms: When you're unsure about your exposure, the histogram is an excellent tool. This visual graph shows the tonal distribution of your image, helping you adjust brightness before taking multiple shots. A balanced histogram typically spans the entire range without clumps at either end, indicating neither overexposure nor underexposure.
-
Bracketing: This technique involves taking several photos of the same scene at different exposures. It's particularly helpful in challenging lighting conditions where the camera's metering might struggle to achieve a balanced result. Later, you can select or blend the best exposures during post-processing.
-
Manual Mode: While automatic settings are convenient, switching to manual mode enhances control and creativity. Manual practice allows you to explore the various possibilities the same scene offers by adjusting each of the exposure elements individually.
By understanding and adjusting these elements, you will not only improve the technical quality of your photos but also enhance the emotional impact they convey. Whether you're capturing the vibrant tones of a sunset or the subtle nuances of a low-light portrait, mastery of exposure opens up a world of creative possibilities in photography.